If you’ve ever stood back and stared at your walls wondering why the paint looks uneven, blotchy, or just plain off—it might not be your paint or brush technique. It’s the texture. Figuring out how to paint textured walls in Henderson, NV is more than just grabbing a paint roller and going at it. Between the desert dust, sun exposure, and older drywall in some homes, getting it right here takes a little more prep and a better plan.
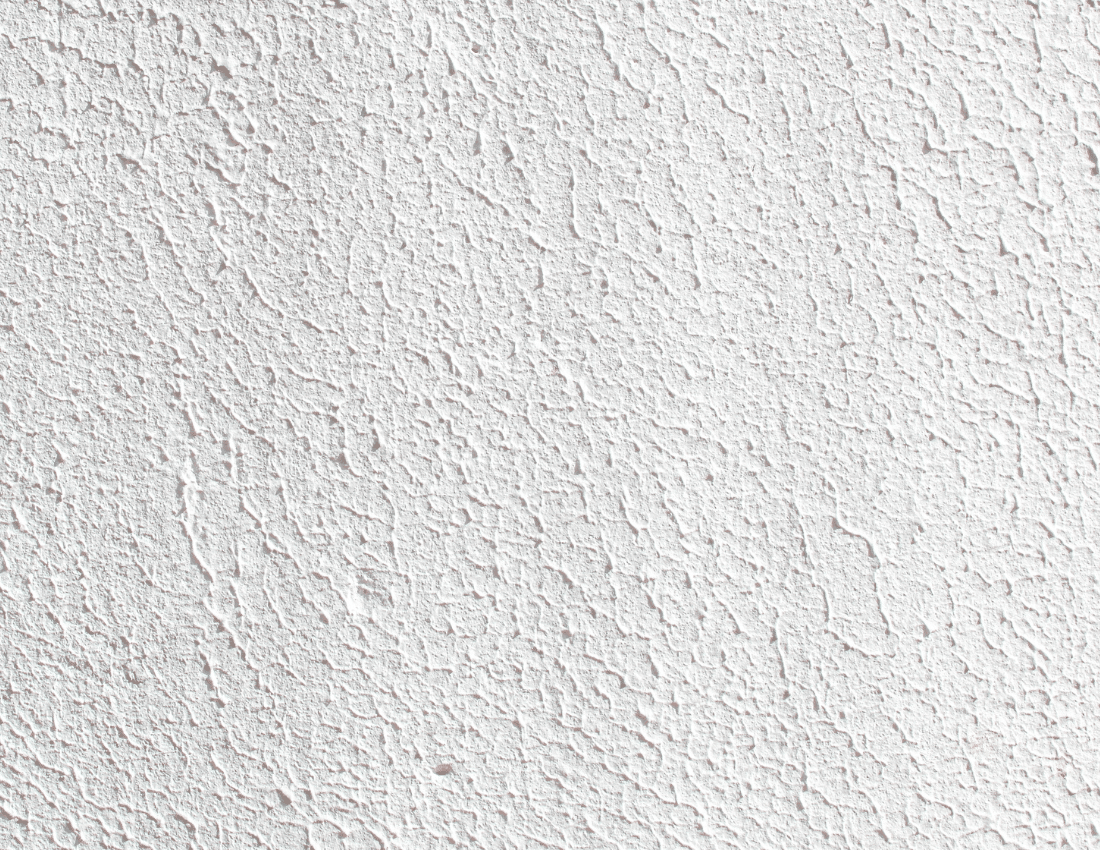
Whether you’re dealing with orange peel, knockdown texture, or that popcorn ceiling from the early 2000s that just won’t quit, textured walls are common in homes across the valley. They hide imperfections well, but they don’t exactly make painting easy.
In this guide, we’ll walk you through the practical steps, give honest tips based on real-world experience, and explain why professional painters in Henderson, NV can save you the time (and sanity) of figuring it all out on your own.
Key Takeaways:
- Clean textured walls thoroughly to help paint stick evenly.
- Use a thick nap roller to reach deep into orange peel or knockdown textures.
- Primer is a must—especially on porous drywall or patched areas.
- Eggshell or satin finishes work best for textured surfaces.

How to Paint Textured Walls
1. Start with a Clean, Dust-Free Wall
Textured walls collect more than just shadows—they trap dust, cobwebs, and that layer of desert air Henderson homes are known for. Skipping this step means your paint won’t stick properly.
Here’s what you’ll need:
- A shop vacuum with a brush attachment
- A clean sponge or brush
- A bit of water
Vacuum the entire surface first. Then give it a once-over with a damp (not soaked) sponge. Even brand-new walls with knockdown texture or stucco should be cleaned before painting.
And if you’re curious about why this matters so much, check out how painting mistakes like skipping prep can lead to patchy or peeling finishes.
2. Prep All The Edges and Surfaces
Once the wall is clean, it’s time to protect everything else.
Grab your painter’s tape and mask off areas like:
- Trim and baseboards
- Windows and door casings
- Outlet covers and light switches
Make sure the tape is pressed firmly along the ridges. With textures like orange peel or popcorn, gaps can let paint seep through. Pro painters often run a thin bead of paintable caulk along the tape edge to block leaks.
You don’t need to be fancy—just thorough. The little steps save big cleanups later.
3. Repair Small Flaws (Yes, Even on Textured Surfaces)
Textured walls might hide damage better, but dents, holes, and gouges still show once painted.
Use joint compound or spackle to fill small dings. Here’s the trick: skip the putty knife and use your finger. It sounds messy, but it helps preserve the original texture, especially on surfaces like orange peel or faux painting finishes.
Let it dry fully. Then use sandpaper lightly—not to smooth the texture, but just to knock down any excess filler.
This is also where many people forget the importance of a good coat of primer. Skipping that step leads to blotchy coverage, especially with porous materials like drywall or plaster.
4. Use the Right Tools for the Texture Type
The paint itself matters but so do the tools.
Here’s what works well for textured walls:
- 1/2 to 3/4-inch nap paint roller for knockdown or orange peel
- Sprayer for heavy stucco or popcorn (though that’s often best left to pros)
- 2-inch angled brush for cutting in corners
- A liner and a sturdy paint tray
Don’t use foam rollers—they glide over the high spots and leave paint sitting in the lows. And if you’re wondering how to match the roller to the texture, our paint calculator can help estimate how much paint you’ll need based on surface area and texture.
5. Prime the Wall First
Primer might feel like an extra step, but for how to paint textured walls, it’s part of the foundation.
Textured walls soak up paint unevenly. A primer evens out absorption, covers previous color, and helps your topcoat stick better.
Use a roller to apply primer in 4×4 foot sections. Check for drips before moving on. Pressing too hard won’t get paint into the indents—let the nap do the work.
Get into the edges and corners with a brush, especially along ceilings, baseboards, or trim where the roller won’t reach.
6. Choose the Right Paint and Finish
Textured surfaces are already busy. The wrong finish can make them look chaotic.
We usually recommend eggshell or satin paint sheen for textured walls. They’re easier to clean than flat finishes but won’t reflect every bump like gloss.
Colors with too much contrast can exaggerate texture, so softer neutrals or mid-tones work better in most rooms, especially kitchens, bathrooms, and ceilings with a lot of natural light.
More about the right paint sheen choices for each room type is available in that article if you’re choosing between finishes.
7. Paint in Small Sections, Watch for Drips
Now the paint goes on. Work in 4×4 foot areas and overlap each section slightly. Don’t overload the roller—too much paint on a textured wall equals runs, sags, and drips.
After each section:
- Step back
- Check for drips
- Roll back over any thick spots
Use a brush to feather into corners and edges. Don’t try to “force” paint into deep spots by pressing the roller harder. If the nap isn’t reaching, it’s the wrong nap—not your technique.
Let the first coat dry fully before applying a second. Most textured walls need at least two coats for solid coverage.
8. Don’t Forget the Popcorn Ceilings
Popcorn ceilings are their own beast. In many Henderson homes, they haven’t been touched in years.
Painting them requires:
- A thick nap roller or airless sprayer
- Minimal pressure
- Patience
The popcorn texture is fragile. Push too hard and you’ll knock it off. That means flakes in your paint and on your floor.
When working near ceilings with texture, painter’s tape and plastic sheets can help control the mess.
FAQs About Painting Textured Walls
How do you paint textured walls without losing the texture?
Use the right roller nap and don’t apply too much pressure. Avoid sanding unless absolutely necessary.
How do you cover textured walls without removing them?
With proper prep, primer, and thick enough paint, you can paint over texture without erasing the detail.
How do you make textured paint?
You can mix sand or other materials into standard paint, but many prefer ready-made texture additives or pre-textured finishes.
How do you paint a textured wall cleanly?
The key is prep, the right tools, and patient application. Edges matter just as much as the open wall.
Why Work With Professional Painters in Henderson, NV
Painting textured walls is a job that demands care, the right materials, and technique. And it’s easy to go from “almost there” to “needs a redo” in just a few strokes.
That’s where professional painters in Henderson, NV step in. At Norse Painting, we handle everything from popcorn ceiling touch-ups to knockdown texture in newer builds. Whether it’s a kitchen, bathroom, or a full interior repaint, our crews know how to get clean, long-lasting results—without shortcuts.
Here’s How Norse Painting Makes It Simple
- Free walk-throughs and color consultations
- Thorough surface cleaning and prep
- Two full coats with high-quality latex paint
- Proper taping and plastic protection for floors and fixtures
- Experienced painters trained in textured wall applications
- Final walkthrough and touch-up service before signoff
Call us at 725-217-5377 for your FREE estimate today!


